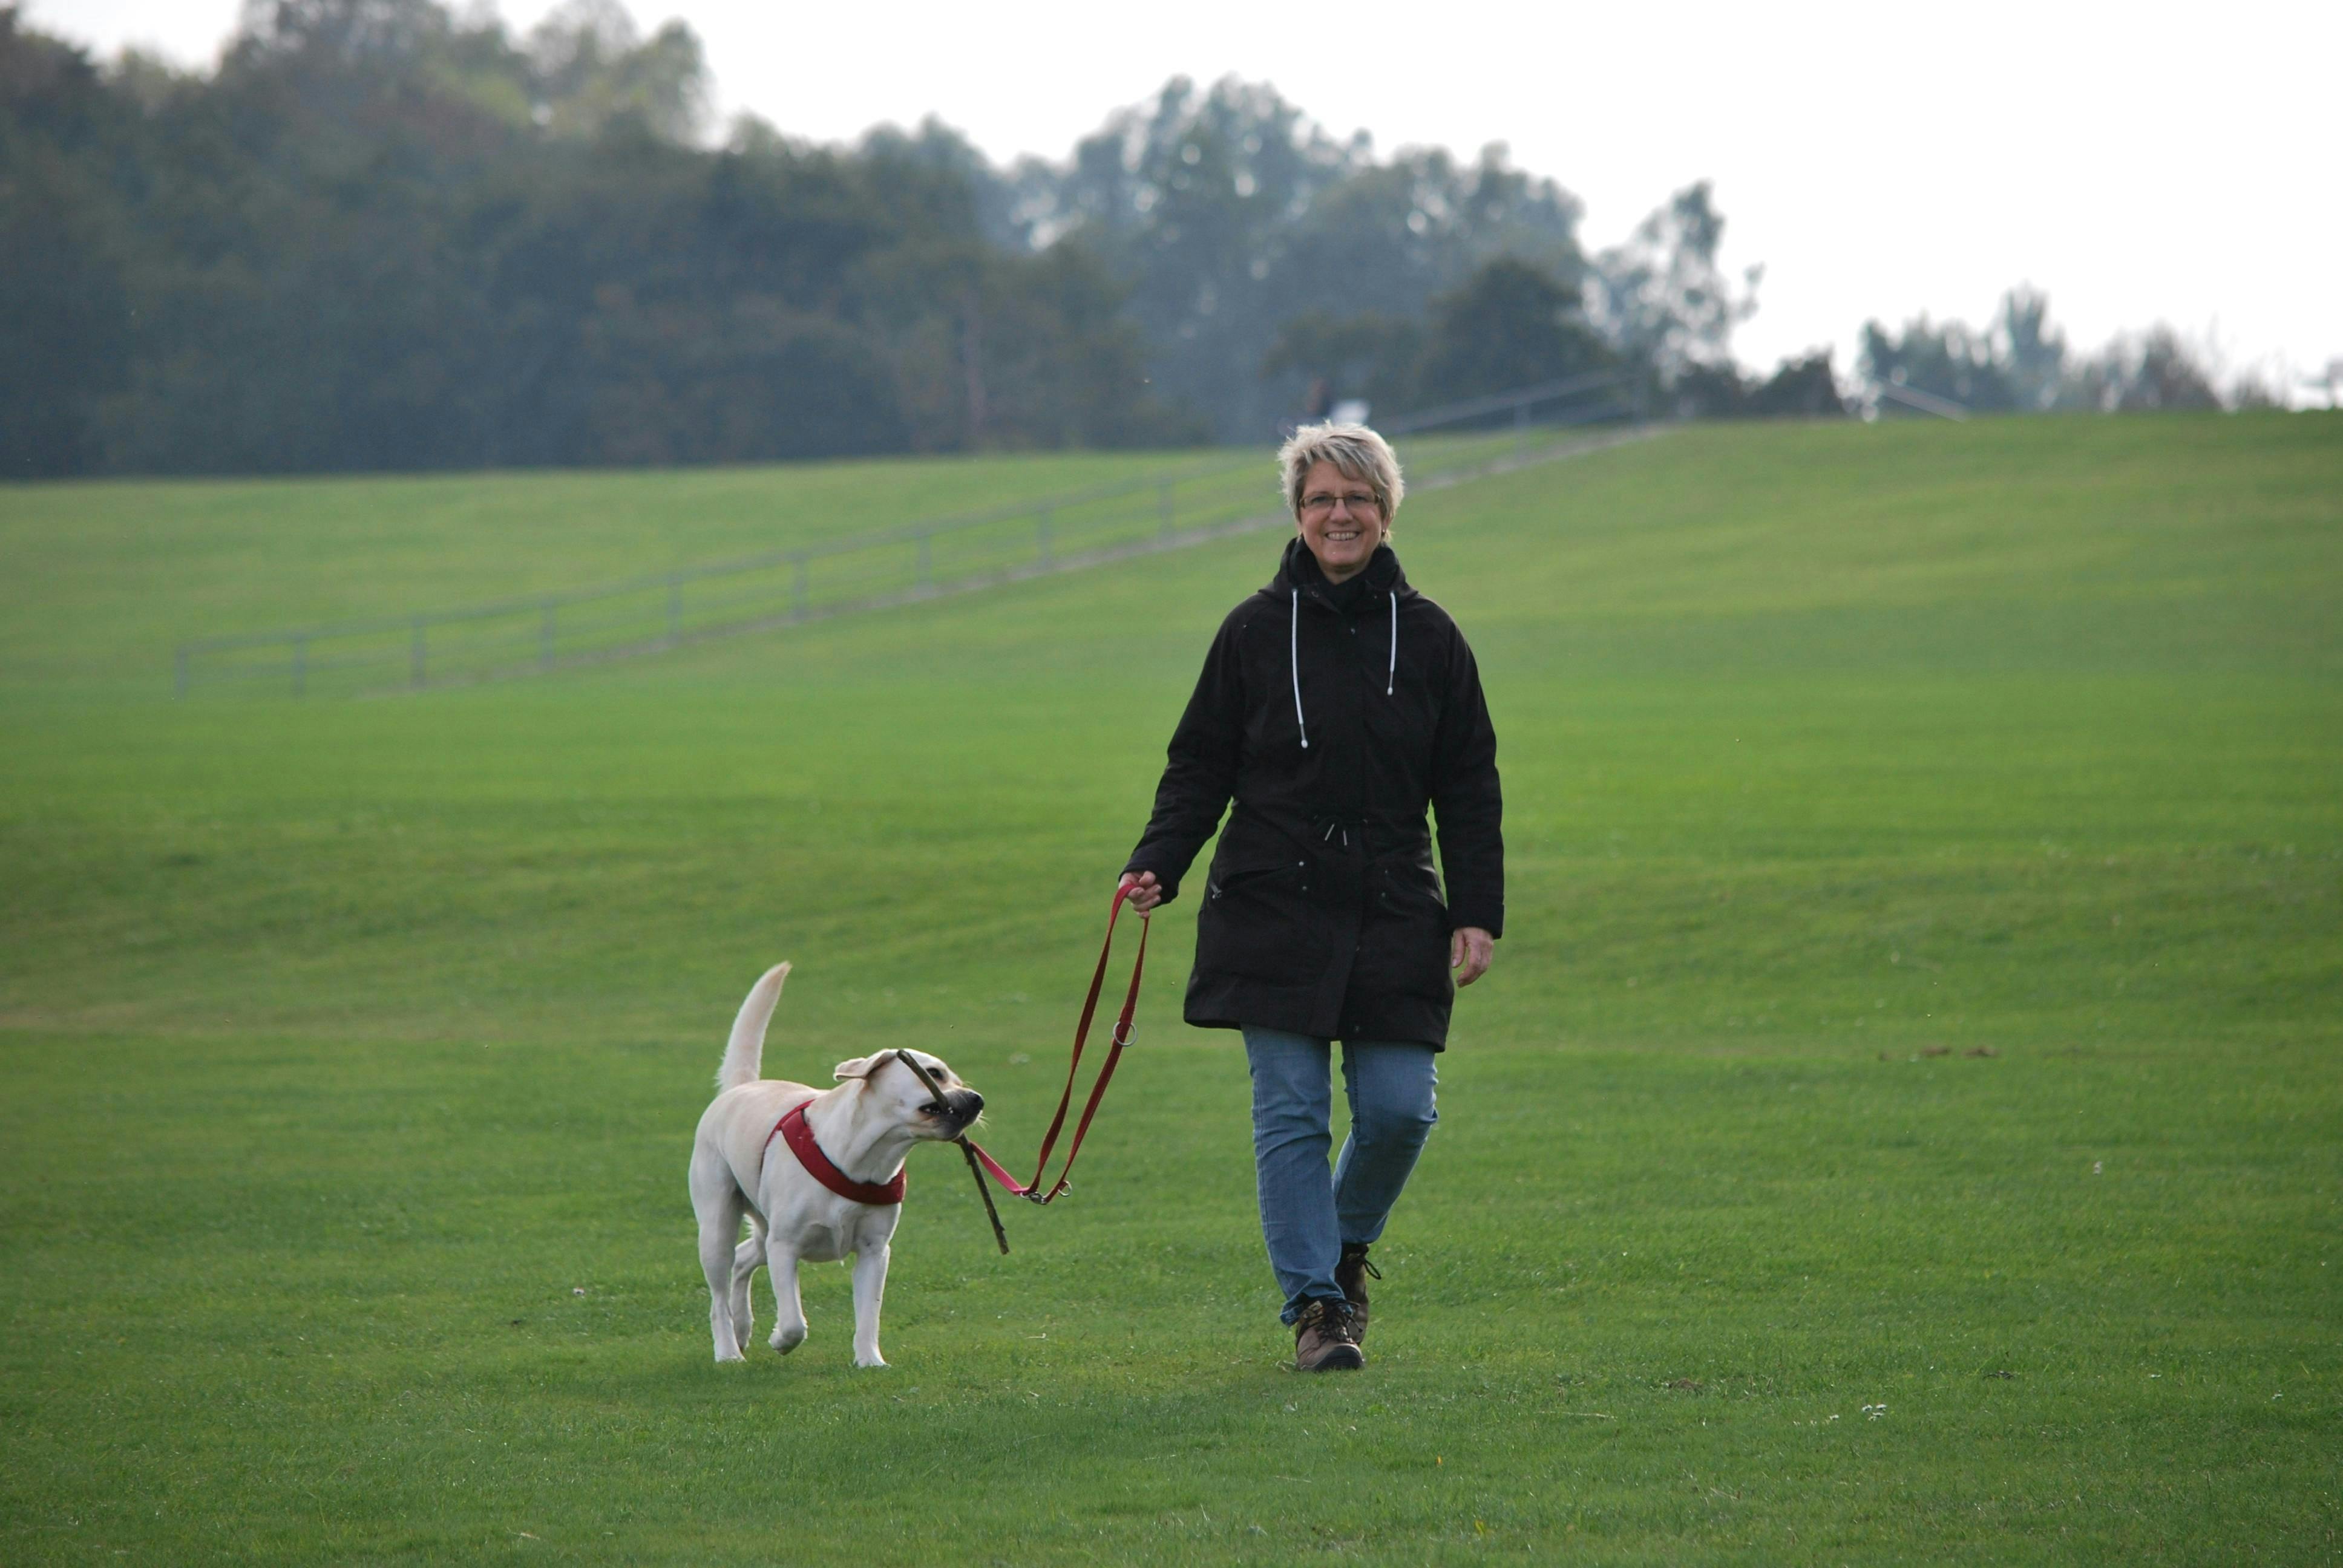
Reactive Dog Management: How to Train Leave It
Reactivity | By: TAYLOR WYLLIE, KPA CTP | Apr 10, 2025

Get Your Free Reactive Dog Masterclass
Unlock the secrets of rehabilitating your reactive dog with this masterclass video
You’re probably familiar with the idea of teaching a dog to “leave it.”
If not, it’s a cue that tells your dog to ignore something—like a person, food, or another animal.
Before we get into reactivity specifically, let me just say that it's immensely helpful to be able to ask your dog to avoid eating something that isn't so good for them.
I’ve used it to ask my dog to “leave” a moldy slice of pizza we stumbled upon during a walk—multiple times. Why I’ve encountered moldy slices of sidewalk pizza multiple times, I don’t know. How is this common? What series of events have to happen to get a moldy slice of pizza on to a suburban street? Is this common only where I live or is it a phenomenon taking the nation by storm?
But I digress.
Today, we’re here to talk about why leave it is a great tool in the reactive guardian toolbox. (If you don’t have a reactive dog, you can still use this post to teach your dog leave it. The steps are the same!)
We’ve all seen our reactive dogs fixate on a trigger before reacting. If you can disrupt this process by using leave it, you may get away with preventing a reaction. Huzzah!
Additionally, when teaching leave it, your dog will practice “taking a second to think” rather than impulsively going after what they want. They’ll learn that pausing or looking at you—rather than acting impulsively by reacting—may get them what they want. That said, the concept of impulse control in dogs is still debated in the dog training community. We can’t say for certain that dogs have this ability. However, whether or not they’re actually learning impulse control, I still find this behavior incredibly valuable for the first two benefits alone.
A New Way To Train Leave It
The way I teach leave it is slightly different from the most common methods you’ll find on YouTube or in training classes. In addition to what I was taught in my professional program, I have been inspired to teach leave it using strictly positive methods by Leslie McDevitt and Dr. Amy Cook. Dr. Cook specifically architected this way to teach leave it.
When training leave it the positive way, we focus on helping our dogs make the right choice from the start. We try to avoid covering up a treat that our dog goes for; instead, we want to make the game easy enough that they never go for the treat in the first place. This approach makes the behavior much stronger—it's one of my dog’s most reliable behaviors.
So, I encourage you to try this specific method of training “leave it,” even if you’ve already taught your dog the cue. If that’s the case, consider using a new cue they haven’t heard before. Options could include “mine,” “thank you,” or even “not today, Satan”—whatever works for you!
The Steps of Training Leave It
The best way to teach leave it is to start with food, so you can maximize how many repetitions you can get in per training session. While the behavior won’t automatically transfer to other triggers, it provides a solid foundation. Once your dog masters it with food, you can begin practicing with non-food items and gradually work up to more challenging triggers.

You may notice that we start training without using a cue. We do this for two reasons. First, we want your dog to respond to contextual cues—like food falling to the ground—so they can practice reading situations and making the right choice to leave the food alone. Second, as with all behavior trained with positive reinforcement, it's best not to add a cue until your dog reliably performs the behavior.
Like training any behavior, I urge you to follow the motto “go slow to go fast.” It will likely take several weeks to get through the following steps.
- Hold your closed fist out in front of you, about a foot away from your dog at nose level. With your other hand, immediately toss a treat for them to chase. Right now, the goal is simply to teach your dog that not all food is meant to be investigated. Stay at this stage until your dog knows that a presented fist equals food thrown. (You can tell because they’ll stop going toward your fist and may even step or shift away from you, anticipating the tossed treat.)
- Hold out your open palm with treats about a foot away from your dog, and feed them one treat at a time from that pile. Move quickly at first—fast enough that your dog doesn’t try to snatch the treats. Once they’re calmly ignoring the treats in your hand, you can begin to slow down the pace. In the beginning, go faster than feels natural to help set them up for success.
- With your palm open and treats visible, start rewarding your dog for any behavior that shows they’re choosing to leave the treats alone. This could be looking at you, stepping back, turning their head, or shifting into a sit or down. Don’t wait for perfect behavior—your goal is to set your dog up for success and keep things easy. If they start going for your hand again, simply return to the previous step and slow things down.
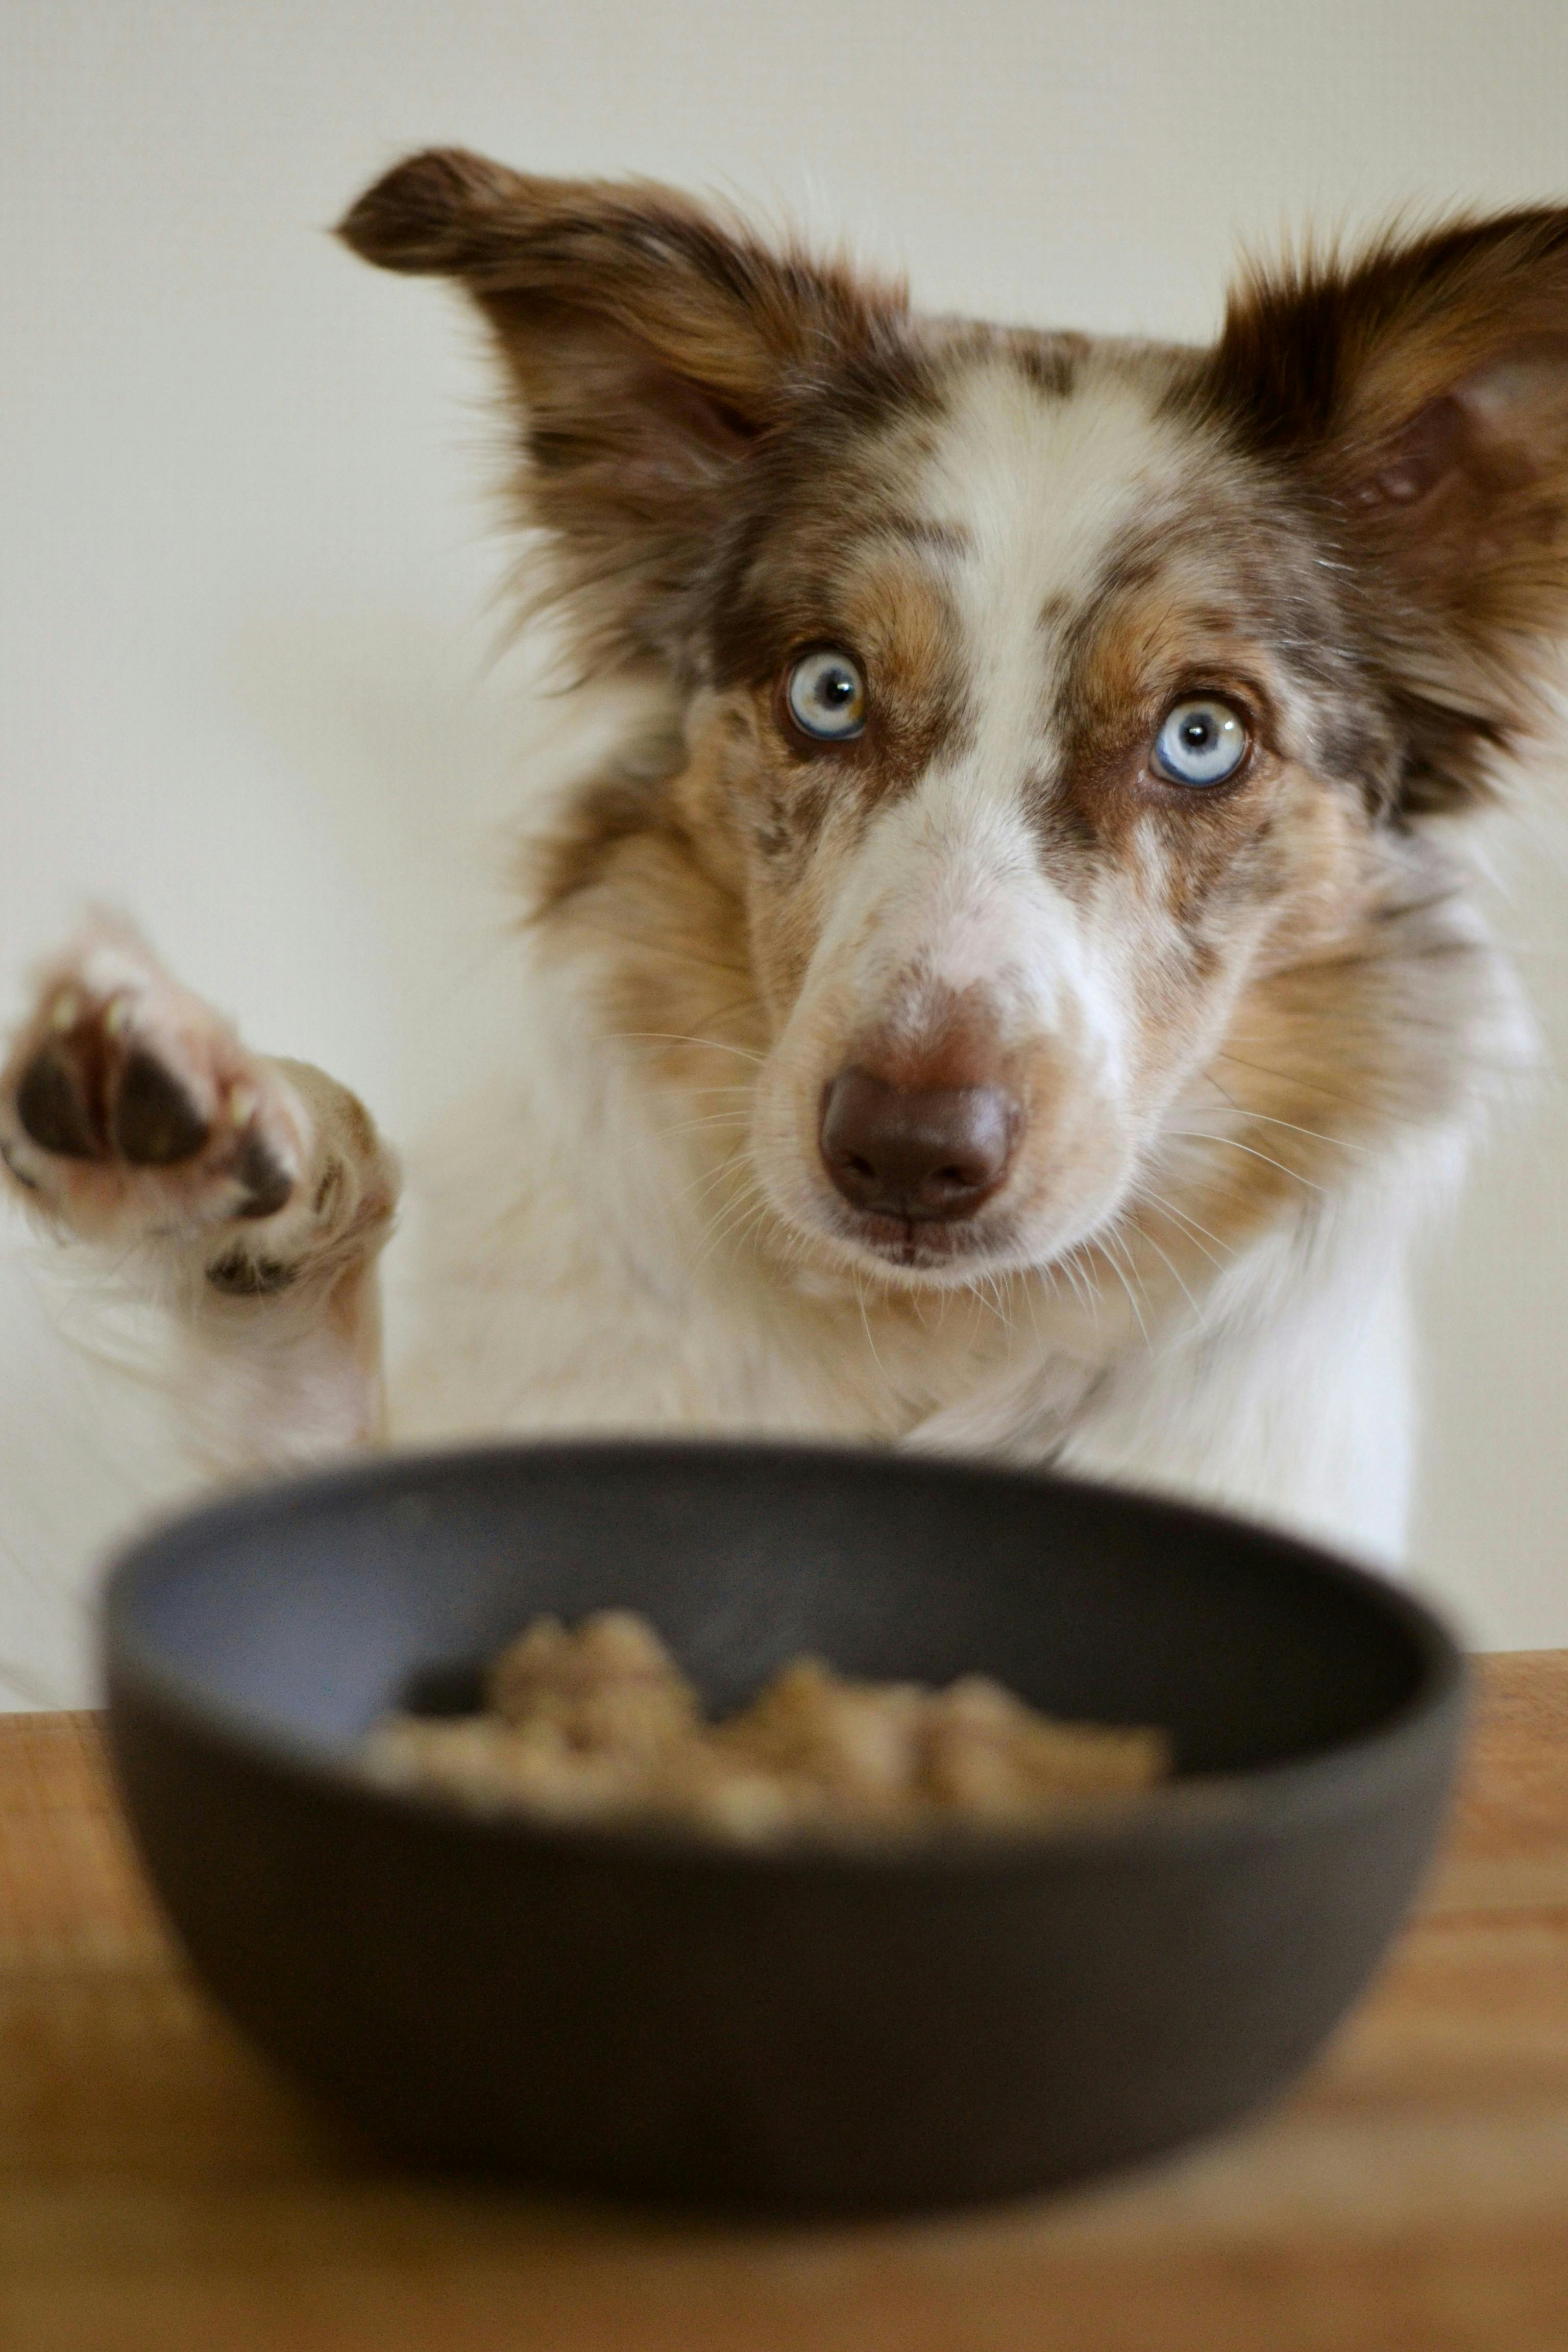
- Place treats on an elevated surface and be ready to cover them if your dog tries to grab one—though ideally, you’re working slowly enough that they don’t. Keep at least a foot of distance, but two to three feet is better to reduce temptation. You may want to start with your dog in a stationary position, like a sit or down, to make it easier for them. As you work, reward them with higher-value treats than the ones they’re leaving behind—like freeze-dried beef liver instead of kibble. This helps teach your dog that choosing to leave something often leads to an even better reward.
- Place treats on the floor in front of you. Feed from that pile or higher value treats.
- Add a simple and clear drop. Start far from your dog and low to the ground. Make sure the treat doesn’t roll into them. When they leave that treat, feed it or a treat of higher value to them.
- Increase the difficulty by dropping more food, dropping when you’re standing, or dropping closer to them. This is a big step, so take your time getting here.
- Now it’s time to add the cue! A cue can be any word or phrase you would like. Examples are leave it, thank you, hippopotamus. You don’t need to say the cue in a threatening manner, which many are inclined to do. But when trained correctly, your dog should respond to cues regardless of the voice you say them in. Here’s how you add the cue—go back to step one. This time say your cue just before you hold out your fist. The sequence is: say “leave it,” hold out your fist, your dog pulls away, you give a treat. Your dog will pull away because they’ve been doing that previously. Soon, the cue will link up in their mind with the learned behavior they are already offering. Go through all seven steps with the cue.
- Start practicing with non-food objects, such as your dog’s favorite toy and other non-triggers.
- Start practicing with triggers, starting from far away (think very far away, potentially across a parking lot or a few blocks when the trigger is just a smudge on the horizon).
Viola! You’ve now taught your dog to “leave it.”
The Limitations of Leave It
Leave it isn’t a cure to reactivity. It’s a management tool to help you keep your dog under threshold and limit the number of reactions they have. In order to change your dog’s emotions toward their triggers, you will have to specifically use behavior medication (BMOD). You might try Leslie McDevitt’s "Control Unleashed,” Dr. Amy Cook’s “Play Way," Grisha Stewart’s “BAT 3.0,” and/or Emma Parson's “Click to Calm.”
Moreover, leave it only works if you catch your dog before they are approaching their threshold. That is, while they are in a calm state of mind.
Similarly, a leave-it is not a drop-it. If your dog already has the moldy slice of pizza in their mouth—or is centimeters away from snatching it up—it’s too late to use leave-it. You’ll have to train a different behavior where your dog learns to drop whatever they are holding on cue (in my experience, this is a more difficult behavior to train!).
You’ll also need to keep practicing leave it in easy situations, so that it stays strong for those more difficult “real life” scenarios.
Conclusion
"Leave it" is a behavior I consider fundamental. I taught it in puppy classes, I teach it with private clients, and when my sister brought home her puppy, it was one of the first behaviors I prioritized. I use it with my own dog, too.
It’s a versatile tool, and when taught using positive methods, it becomes a powerful one.
Happy training!